How to Install Jellyfin Media Server (Ubuntu 18.04)
Jellyfin is an open source fork of Emby Media Server that allows you to organize and stream your movies, shows, music, and photos. Update Your Server
Before installing Jellyfin, you’ll want to make sure your server’s package management repositories are fully up to date. Run this command to get the latest package listings and update installed packages to their latest versions:
sudo apt update && sudo apt upgrade
Download and Install Jellyfin
Jellyfin is nice and easy to install and keep up to date on Ubuntu as there is an official repository.
First, install apt-transport-https.
sudo apt install apt-transport-https
Next, download the gpg key and install the repo.
wget -O - https://repo.jellyfin.org/ubuntu/jellyfin_team.gpg.key | sudo apt-key add -
sudo echo "deb [arch=$( dpkg --print-architecture )] https://repo.jellyfin.org/ubuntu $( lsb_release -c -s ) main" | sudo tee /etc/apt/sources.list.d/jellyfin.list
Now update your package listing and install Jellyfin
sudo apt update
sudo apt install jellyfin
Create Library Path
We’ll create a movies directory in /jellyfin-library. You can also create a shows, music, or photos directory at this time. The library directories can be created anywhere the jellyfin user has read access to. I typically serve content like this from /var/www
sudo mkdir -p /var/www/jellyfin/jellyfin-library/movies
sudo mkdir -p /var/www/jellyfin/jellyfin-library/photos
Jellyfin Setup
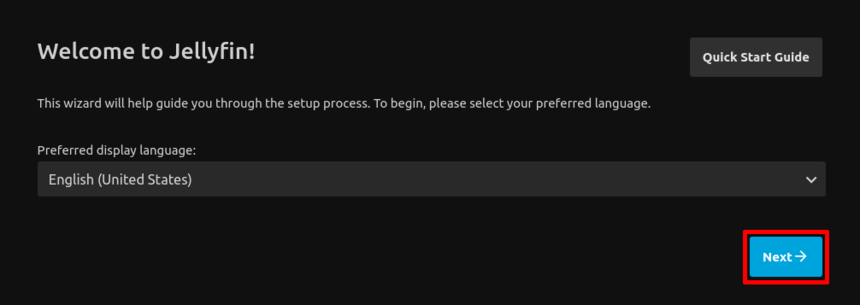
To start setting up Jellyfin, navigate to http://localhost:8096 in your web browser or http://ip_of_your_jellyfin_server:8096 if you are accessing it from a different computer on your local network.
Select your language and click Next.
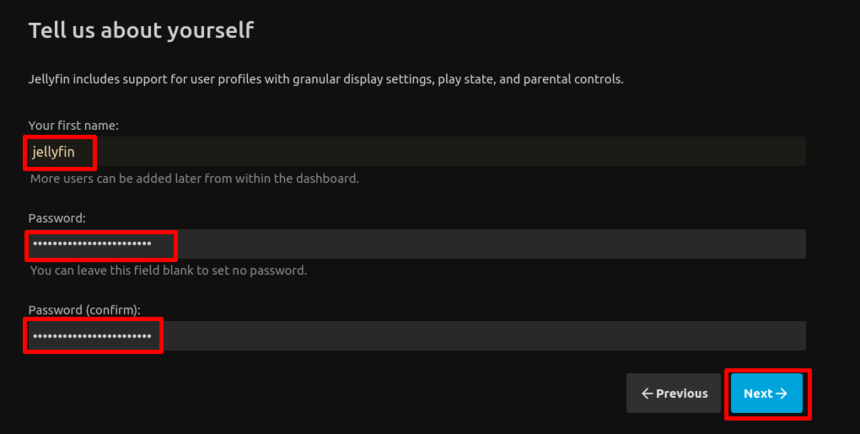
Create a username and password. Click Next. ( you don't need a "jellyfin" username, you can use a name of your choosing.)
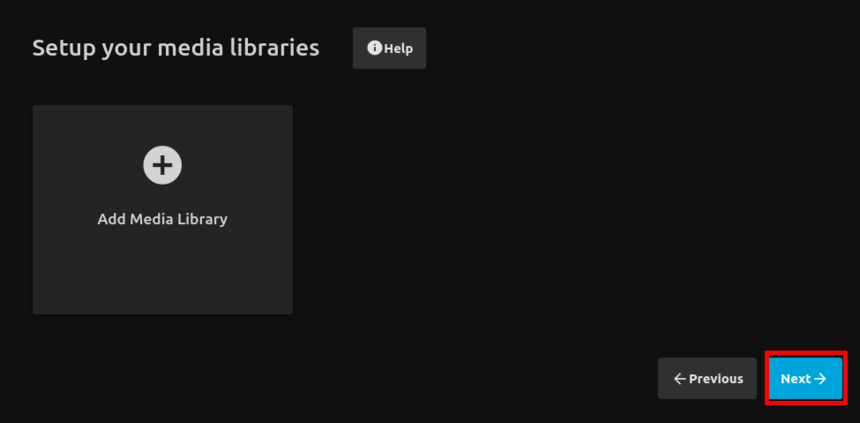
We’ll add a library later on. For now, just click Next.
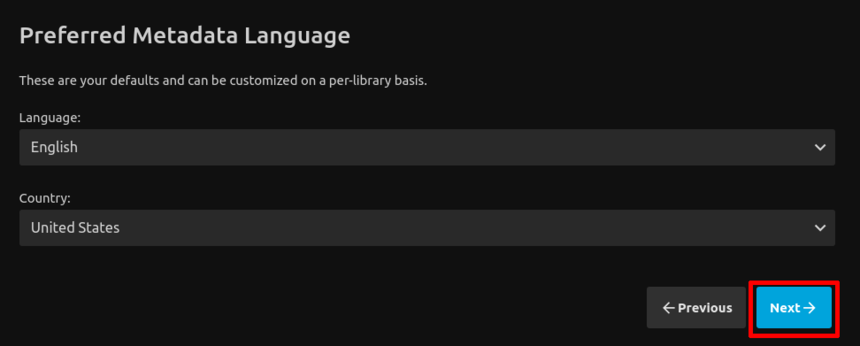
Confirm your language and country. Click Next.
Make sure the Allow remote connections to this Jellyfin Server option is enabled. Click Next.
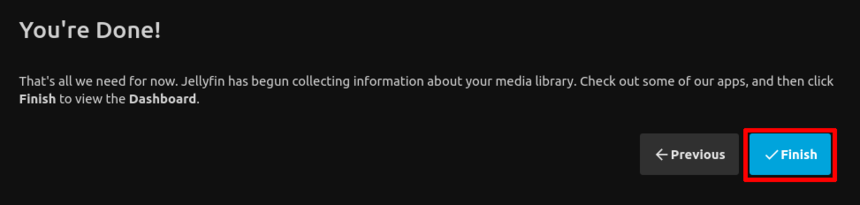
Click Finish.
Add a Library
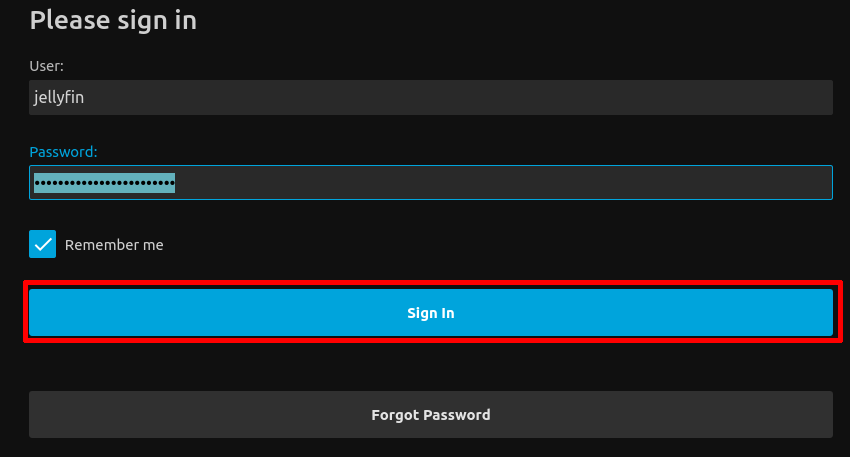
After setup is complete, Jellyfin should ask you to sign in. Go ahead and enter your credentials and sign in.
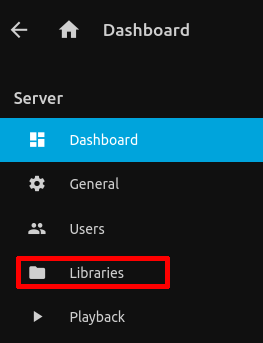
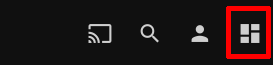
Click on the icon in the top right corner of the portal to get to settings.

Click Libraries.
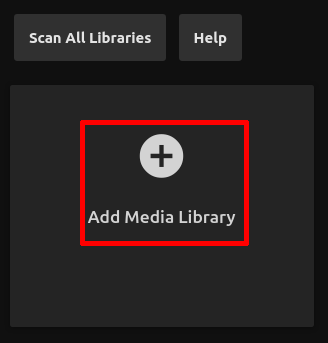
Click Add Media Library.
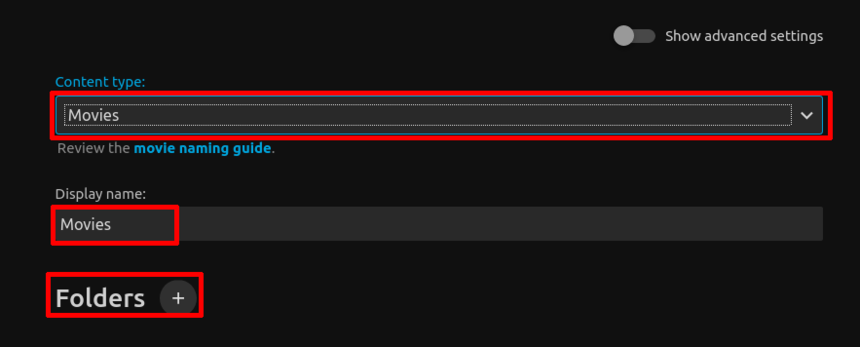
Select your content type and give it a name. Click Folders.
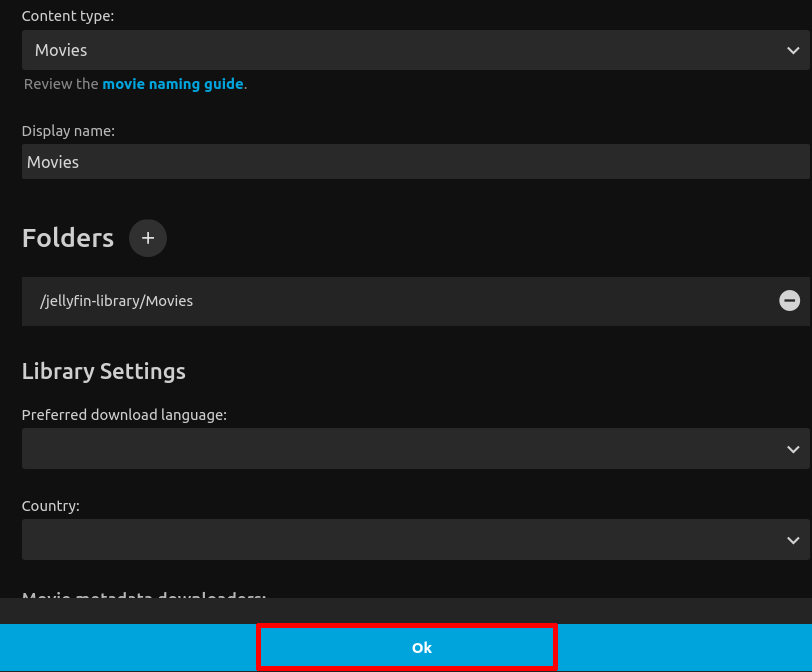
Select the library directory you created earlier and click ok.

Click ok.
Add Media to Your Library
The easiest way to upload your media is with SFTP.
These two Emby wiki articles will show you how to properly organize your media so Jellyfin can understand it and fetch the proper metadata.
Movies: https://github.com/MediaBrowser/Wiki/wiki/Movie-naming
TV Shows: https://github.com/MediaBrowser/Wiki/wiki/TV-naming
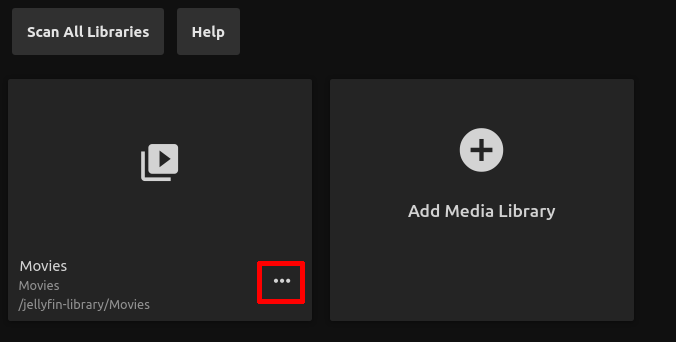
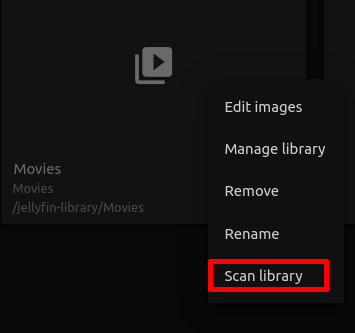
Once you’ve added your media, you’ll need to scan your library files before Jellyfin will see them. Do this by clicking on the three dots next to your library and clicking Scan Library.
SSL
Jellyfin does not come with SSL built in. If you want more privacy and to protect your login credentials from potential compromise, it’s a good idea to add SSL. Once you have obtained a certificate and uploaded it to your server, click on the icon at the top right of your Jellyfin portal.
Click Networking.
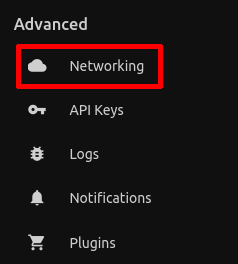
Add the certificate path under Custom ssl certificate path.

Enjoy Your Media!
Congratulations! Everything should be working at this point. Now you can enjoy your media with one of Jellyfin’s client apps or in your web browser by navigating to http://ip_of_jellyfin_server
No comments:
Post a Comment